absolutely loving my life

  • Subscribe to our RSS feed.
  • Twitter
  • StumbleUpon
  • Reddit
  • Facebook
  • Digg

Wednesday, 10 April 2013

$2 Yard Sale Chairs Get a $2 Paint Job

Posted on 07:33 by clark


Monday, I posted “Goodwill Desk Gets a Green Makeover”,and yesterday I posted “Upcycled DeskOrganizers.”  Today, I want to talk about the chair that I found to go with the green desk.


I scored two of these chairs at a garage sale last year for $2 a piece.


I didn’t paint the chair I have at the desk.  I thought the green desk was enough color in this particular space.


I did, however, paint the other chair.  Using a $2 can of red spray paint, this chair got a pop of color!


When using spray paint, it is important to use thin even strokes.  If you try to apply too much paint in one place you will end up with drip marks, and that’s never a good thing.  Also, always spray paint in a well ventilated area.  I usually spray paint outdoors.


I think the chair looks great with the other red accents I have in the kitchen! It displays my cookbooks and provides additional seating when we have a lot of company.  That’s $2 well spent if you ask me;)

Read More
Posted in chair, DIY, projects, red, spray paint, yard sale find | No comments

Tuesday, 9 April 2013

Upcycled Desk Organizers

Posted on 04:45 by clark

Yesterday, I posted “Goodwill Desk Gets a Green Makeover”.  In that post I shared how a $25 desk would end up meeting all of our organizational needs for daily things like mail, coupons and bills.  Today, I want to share with you how I upcycled items that I had laying around the house to create desk organizers.  The best part is that this project didn’t cost me a thing!


I’ll start with my 1-2-3 jars.  These jars are just votive holders that I no longer used and had in a drawer labeled candles and candle holders.  Using chalkboard paint, a sponge brush, and a white painter marker (all of which
I already had in my craft drawer), I turned these votive holders into storage for items like paper clips, binder clips and push pins.  If you don’t have votive holders on hand, they are really inexpensive and can be found for less than $1 just about anywhere.  Underneath the votive holders is a note pad and a piece of cut scrapbook paper.  The polka dot scrapbook paper is just for looks.  I thought it accented the desk nicely.


I often purchase fresh flowers every few weeks for my kitchen table and coffee table.  I happened to have this small vase from a garage sale. I think I paid a quarter for it and knew I’d eventually have a use for it.  When I tied a black ribbon around it and added a flower or two from my kitchen table, it became a lovely accent for the kitchen desk.  The ribbon was actually salvaged from a gift set that someone got me at Christmas.  I always try to save stuff like that and put it in my craft drawer until I find a use for it.


An empty pickle jar and some twine from my craft drawer was all it took to create this storage for my basic house items like scissors, tape measure, hammer, screw driver and flash light. 

 
In case you are wondering, a while back I purchased my black and green girl tools at Stein Mart;)  I just thought they were super cute!


To hold pens and pencils, I used an empty corn can, some scrap burlap and more of that black ribbon  I saved from a gift set someone got me for Christmas.


Lastly, I used a container that I’ve had for years to hold the excess change we have when we empty our pockets.


There ya have it!  Simple ways to organize and upcycle in a beautiful way, and you don’t even have to spend very much to do it!


I wont’ show you inside the desk drawer;) That’s my husband’s domain.  I told him that as Iong as I don’t have to look at it, I don’t care.  This desk helped solve all of our problems, and we no longer argue about something as simple as mail on the kitchen counter.

Read More
Posted in desk, DIY, furniture, green, organization, paint, projects, upcycled | No comments
Monday, 8 April 2013

Goodwill Desk Gets a Green Makeover

Posted on 12:09 by clark
 

I’m trying to catch up on the blog this moth by posting projects that I’ve completed over the past year, but for whatever reason never made it to the blog until now. 

 
Last spring, I purchased this desk from Goodwill for $25 and gave it a fresh look with some green paint.
 
 
I purchased the desk, because I was getting sick of the hubs leaving the mail or the bills all over the kitchen counter.  Apparently, the cute red mail organizer wasn’t working for him, so I knew I needed a desk with at least one drawer for our organizational needs.
 

I wish I had a before picture of this desk, but I don’t.  Basically, it looked like a paint job gone bad when I purchased it.  Someone probably didn’t know what they were doing when trying to give it a new look, got frustrated, and then chose to donate it.  Their misfortune was my luck, because I really love this piece.


This refinish was really easy.  1) I cleaned the surface.  2) I lightly sanded it to give it to smooth out the surface.  Had someone else not tried to paint it, I probably could have skipped this step.  3) I painted on one coat of Zinsser 123 Primer.  This stuff is the best primer, and you can usually skip  sanding when you prime with it.  For this piece of furniture I chose to use and angled brush rather than my trusty sponge roller, simply because there were a lot of nooks and crannies to paint on this particular piece.  4) Lastly, I painted on two coats of Sherwin Williams Jalapeño Pepper.  I happened to have a sample of this color in satin finish from when we were choosing colors for our downstairs powder room.   
 
 
Samples cost around $6 at Sherwin Williams. The color didn’t work for the powder room, but I think it made a great color for this desk.

 
I think this desk turned out great, and has been a nice pop of color in the kitchen for about a year now.
 
Tomorrow I’ll post about the up-cycled desk organizers I used for this green beauty.


Read More
Posted in desk, DIY, furniture, goodwill good deal, green, organization, paint, projects | No comments

Friday, 5 April 2013

Going Yellow - Overview

Posted on 17:28 by clark


Happy Friday!  Just wanted to give a quick overview of this week’ “Going Yellow” series.


On Monday, I shared how I updated my DIY Wall Art from this…..


……to this in a post entitled,  "Wall Art Redo".
 
Tuesday and Thursday, I shared how I updated two of these lamps......
 

.....by first sharing, "When A Lampshade Meets A Napkin"......


…..and then by sharing, “ScrapbookPaper Lamp Shade”.


And lastly, this decoupaged table was updated from this….


…..to this in Wednesday's post entitled, “ModPodge Table Redo”.
 

The above links share how I updated the living room for less than $100.
 
I have to tell you that I love the yellow and grey living room now.  The room looks so much happier than it did before! 

And to think that all of this yellow was inspired by Target’s round tufted yellow ottoman! 

Read More
Posted in DIY, going yellow, projects | No comments

Thursday, 4 April 2013

Going Yellow - Scrapbook Paper Covered Lamp Shade

Posted on 03:36 by clark


I’ll be sharing the last project in my “Going Yellow” series today.  When I decided to go yellow in the living room, I knew I wanted to replace or update the lamps.


I fell in love with this yellow lamp base from Target for $20.   It was a bit pricy for me.  Since I saved money on some of the other projects, I had room in the budget for this lamp.


I was having a hard time finding a lamp shade that I liked, and I didn’t want to spend a lot of money.  I ended up purchasing this $8 white lamp shade from Target.


I wasn’t fond of the plain white shade and wanted to dress it up a little.  To do this, I took two pieces of scrapbook paper, traced them around the shade, cut the paper out to fit the shade, and hot glued the paper to the edge of the shade.  To clean up the edges I embellished them with some trim I had on hand.


I really like how this lamp shade turned out!


I hope you all do too!


Be sure to visit the blog tomorrow.  I’ll  be finishing this series by giving an overview of this week’s projects! 


Read More
Posted in DIY, going yellow, lamp, lamp shade, projects, scrapbook paper | No comments

Wednesday, 3 April 2013

Going Yellow - Mod Podge Table Redo

Posted on 09:16 by clark

 
If you’ve been reading the blog this week, you’re aware of my “Going Yellow” series.  This week I’ve been sharing how I updated my living room  by using yellow accents for less than $100.


Today I’m sharing an easy redo where this table…..


…was updated to this table.


The original post , “Decoupaged $5 Goodwill Table”, was about how using paper and Mod Podge on furniture can be a creative an inexpensive way to update thrift store furniture.  For this update, all I did was cover the old paper with new yellow paper using the same method that I shared in the original post.


I love the black, yellow and grey combination of this space now. 
 
I have one last yellow project to share with you tomorrow, so stay tuned.


Read More
Posted in decoupage, DIY, going yellow, goodwill good deal, mod podge, projects, scrapbook paper, table | No comments

Tuesday, 2 April 2013

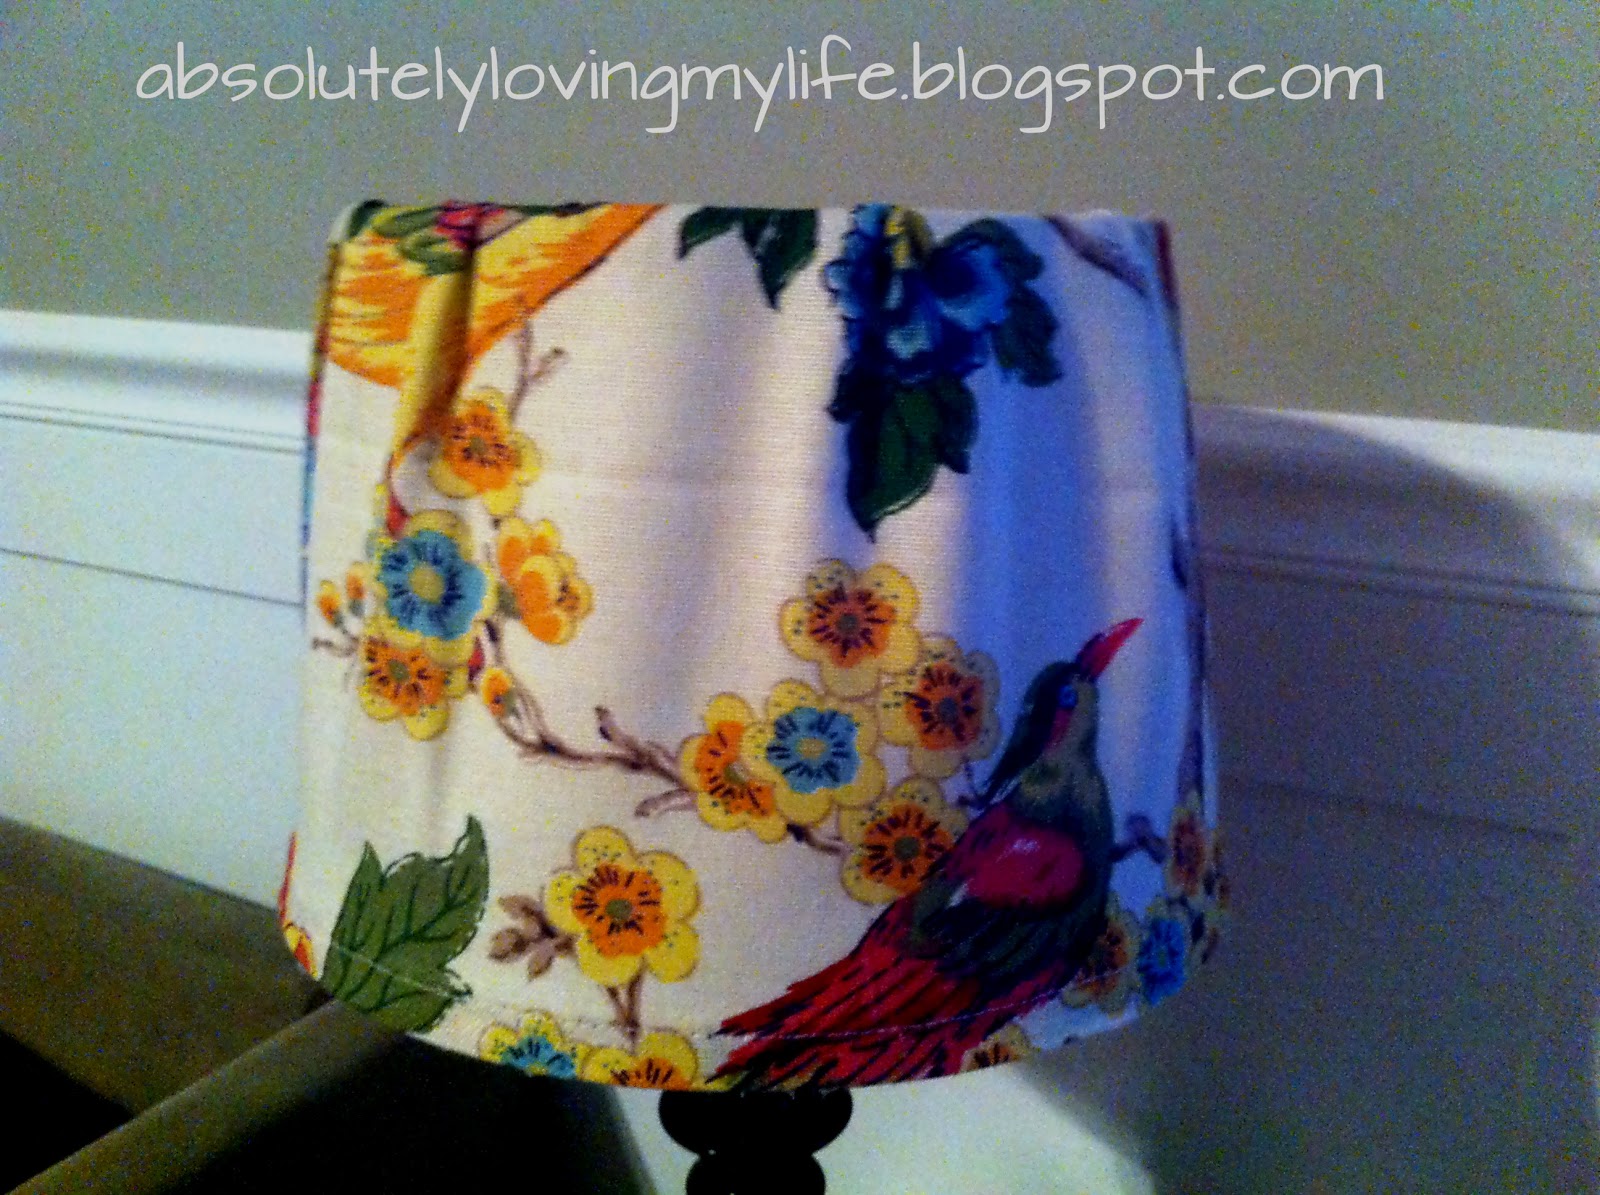
Going Yellow - When a Lamp Shade Meets a Napkin

Posted on 04:22 by clark


I’m continuing my “Going Yellow” series today with a project I’ve entitled, “When a Lamp Shade Meets a Napkin.”


Yesterday I shared how I updated my DIY Wall Décor with some new yellow fabric to create DIY Wall Art Redo. Today I want to share how I updated this lamp with a new plain white shade and a festive napkin.


The original lamp shade was made with scrapbook paper.  You can go herefor that tutorial.  For this update, I kept the Goodwill lamp that I spray painted black, but I got rid of the old lamp shade and made a new one. 


To start I bought a simple $8 lamp shade from Target and $3 napkin from World Market. 


I then tore the napkin in half and hot glued it around the shade. By tearing the napkin in half, I had enough fabric to cover the width of the lamp. The two pieces glued seamlessly together on the sides of the shade, because the napkins already had perfect hems.


I then glued the bottom hem of the napkin to the bottom of the shade.


Carefully making pleats, I glued the torn side of the napkin to the inside top of the shade.  To cover the torn part of the napkin,  I glued some pretty ribbon on the inside of the lamp.

 
I love how the napkin not only had some of the yellow I was looking for, but it also had some other bright colors in it as well. It gave me the right amount of pop I wanted for the space.

 
I'd say this lamp redo was a big success....and an inexpensive one at that.
 
Stay tuned for more yellow projects this week:)
 
 
Read More
Posted in DIY, going yellow, goodwill good deal, lamp, lamp shade, napkin, projects, spray paint | No comments
Newer Posts Older Posts Home
Subscribe to: Posts (Atom)

Popular Posts

  • DIY No Sew Crib Bumper
    Today I want to share with you how I made no-sew crib bumpers for our twin boy nursery.   Before I begin, I know that bumpers are controvers...
  • The First Saturday of the Month at Goodwill
                      It’s the first Saturday of the month, and do you know what that means?   Well, if you ever shop at Goodwill,you know that ...
  • My Real Life Love Story Part 4 - Planning the Wedding
    You can read previous posts abot my love story at the following links :  Introduction  ;   Part 1 – How We Met ;   Part 2 – Getting To Kno...
  • Yard Sale Lamp Revamp
    Remember my $5 yard sale lamp from Friday's post ?  Well, check out what a little bit of trim and and a hot glue gun can do! I found t...
  • 4 Pasta Canisters from Recylcled Target Containers for $4
    As I’ve mentioned in previous blog post, I’ve been attempting to reorganize the pantry. In addition to storage items that I already had, suc...
  • Weekend Getaway - Nashville, TN
    (SOURCE)         We try to take a weekend getaway every year around our anniversary.  This past weekned we did just that:) Desperate for war...
  • My Story of Surviving Twins with Colic - Ten things I'd say to the mom of a colicky baby......
    1) I understand completely, and I feel for you..... Bringing home a newborn can be exhausting for anyone.  Adjusting to sleep deprivation an...
  • Annie Sloan Chalk Paint Furniture Redo - from dresser to TV stand
    I spent much of last fall furnishing our loft.   Because this is a large space, I wanted to utilize the area for several different purposes...
  • DIY "Twins" Banner
    Banners are all the rage as kid’s décor these days.  They are often used in parties, photo props or as room décor.  They are also incredibly...
  • Letters to my Babies - Week 22
    We are so thankful for this pregnancy! After sharing our journey through infertilty on the blog, I knew I wanted to log our newfound 40 wee...

Categories

  • 29
  • adoption
  • annie sloans chalk paint
  • anniversary
  • apple orchard
  • autumn
  • awards
  • babies
  • baby
  • banner
  • barstool
  • bathroom
  • beads
  • birth
  • birthday
  • blogging
  • book
  • book pages
  • books
  • bookshelf
  • Boston
  • Brown County
  • buttons
  • California Road Trip
  • candles
  • canisters
  • chair
  • chalk board paint
  • chalk paint
  • chalkboard paint
  • chevron
  • christmas
  • cleaners
  • coffee beans
  • Connecticut
  • conner prairie
  • covered bridge festival
  • craft
  • crafts
  • craigslist
  • crib bumper
  • crib skirt
  • curtains
  • cushion
  • date night
  • day trip
  • decoupage
  • desk
  • DIY
  • Dollar Store
  • door knobs
  • dresser
  • elections
  • fabric
  • fall
  • family
  • featured
  • felt
  • floors
  • flowers
  • food
  • front door
  • front porch
  • furniture
  • giveaways
  • going yellow
  • goo gone
  • goodwill good deal
  • great finds
  • green
  • Halloween
  • headless horseman
  • hiking
  • holidays
  • house
  • husband
  • infertility
  • infertily
  • IUI
  • journal
  • Kennebunkport
  • Kent
  • kitchen
  • lamp
  • lamp shade
  • lamps
  • landscaping
  • letters to my babies
  • Maine
  • marriage
  • Martha's Vineyard
  • Massachussetts
  • maternity pictures
  • Memorial Day
  • mod podge
  • monogram
  • movie
  • movies
  • my job
  • my mom
  • napkin
  • Nashville
  • New England Road Trip
  • new year
  • no-sew
  • nursery
  • one month old
  • organization
  • outdoors
  • paint
  • pantry
  • parenting
  • patriotic
  • photos
  • picnic
  • pillow
  • pregnancy
  • project
  • projects
  • pumpkin patch
  • pumpkins
  • random
  • reading
  • red
  • review
  • rope
  • Safe Haven
  • San Francisco
  • scrapbook paper
  • snow
  • spray paint
  • spring
  • stripes
  • summer
  • table
  • Tennessee
  • three months old
  • tiles
  • TP tubes
  • travel
  • Turkey Run State Park
  • turning 30
  • twins
  • two months old
  • upcycled
  • vacation
  • Valentine
  • vote
  • wall decor
  • wall treatment
  • weekend getaway
  • winter
  • wreath
  • yard sale find

Blog Archive

  • ▼  2014 (36)
    • ▼  July (21)
      • My Story of Surviving Twins with Colic - Ten thing...
      • Parenting Twins - The First Year (Month 4)
      • DIY Flower Lamp Shade
      • Upcycled Coffee Bar
      • DIY Vintage Insect Wall Art
      • DIY "book" Shelves
      • Little Boy Bathroom
      • Upcycled Nursery Dresser
      • Re-purposed Goodwill Dresser - Nursery Changing Table
      • Spray Painted Picture Frames & Photos as Wall Art
      • DIY Monogram Nursery Wall Art
      • DIY "Twins" Banner
      • Easy DIY Board and Batten for the Nursery
      • DIY No Sew Kid's Bench Cushion
      • DIY No Sew Crib Bumper
      • DIY No-Sew Chevron Curtains
      • DIY No-Sew Chevron Crib Skirt
      • Twin Boy Nursery on a Budget
      • New England Road Trip - Martha's Vineyard (Day4-6)
      • New England Road Trip - Kennebunkport, ME (Days 3-4)
      • New England Road Trip - Boston, MA (Days 2-3)
    • ►  June (3)
    • ►  May (1)
    • ►  April (4)
    • ►  March (2)
    • ►  February (4)
    • ►  January (1)
  • ►  2013 (45)
    • ►  December (3)
    • ►  November (2)
    • ►  October (5)
    • ►  September (1)
    • ►  August (3)
    • ►  July (1)
    • ►  May (3)
    • ►  April (13)
    • ►  March (7)
    • ►  February (6)
    • ►  January (1)
  • ►  2012 (89)
    • ►  November (3)
    • ►  October (7)
    • ►  September (3)
    • ►  August (12)
    • ►  July (9)
    • ►  June (7)
    • ►  May (7)
    • ►  April (11)
    • ►  March (11)
    • ►  February (10)
    • ►  January (9)
  • ►  2011 (165)
    • ►  December (18)
    • ►  November (11)
    • ►  October (19)
    • ►  September (12)
    • ►  August (20)
    • ►  July (19)
    • ►  June (19)
    • ►  May (17)
    • ►  April (12)
    • ►  March (10)
    • ►  February (8)
Powered by Blogger.

About Me

clark
View my complete profile